
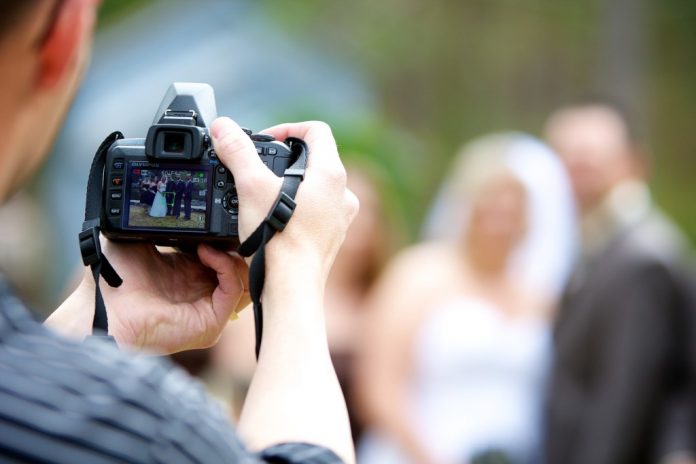
Editing photographs from a wedding can be quite entertaining because it allows you to let your creative spirit work its magic. With the rise of affordable and high-quality cameras on the market, almost every photo will already look good as is and with just a little bit of tinkering, you can make it look gorgeous.
However, if you really want to impress your clients and your followers, you will definitely need to create something impactful, but that can only be done with the right photo editing skills. While the skill of taking photos is important, what you are going to do with those photographs after is also vital. The groom and the bride will probably have very high expectations from you which is why you will need to do the best you can to make them happy.
Fortunately, in these modern times, editing images is now easier than ever. You have a choice between a dozen free image editing software that allows you to do anything you want even though it is completely free. Of course, you also have the option to go with paid software which can give you a bit more tools to help you easily reach your editing goal.
No matter what kind of software you pick, the same rules always apply when working on wedding photography, so here are some tips to help you satisfy your clients by delivering the perfect product.
Tips before you start
You probably already know this, but it won’t hurt if we mention it. If you have a professional camera, you probably already know that the size of those JPEG, NEF/RAW or TIFF files can be huge, it could be anything between twenty or fifty megabytes. Sure, ten images that are 50 megabytes, is not a lot, but a wedding could yield you well over a thousand photos. Now multiply that amount with the size of one single image and you are met with hundreds of gigabytes of storage space.
Once you factor in the original and raw files, the software projects, backup, and the final version, you will probably need a lot of storage space. This is why we recommend to anyone working in this industry to either buy at least a two terabyte external hard disk drive or get a 1TB cloud storage drive. Keep in mind, you should get cloud storage only if you have fast internet because otherwise, it would be useless.
Don’t forget to regularly make backups, in case something goes wrong.
Cropping
One of the most basic tools of any image editing software, but also the most effective one.
Naturally, when working with the camera during the wedding, you can’t look through the photos you have already taken since you are busy capturing the moments of the groom and the bride. You are focusing on what is important at the moment and analyzing the photography comes after.
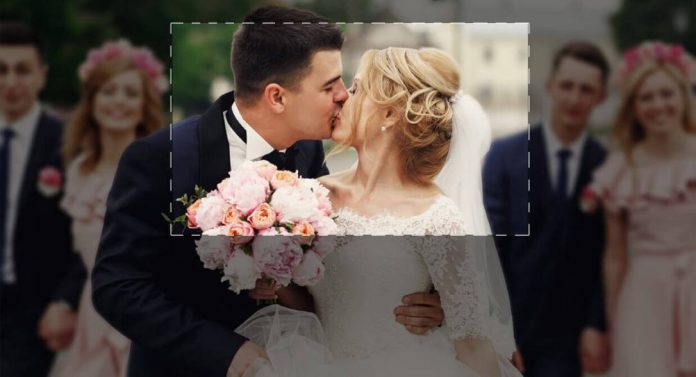
So, you look through your camera and find that you have caught the perfect moment, but a few people in the background are in the way, like a thorn in your side. Instead of having to go through a long process of removing them out of the picture, you can simply crop it to a 1:1 aspect ratio and you are done. You have a great picture with the press of a button. All that is left is to do some shading and color correction.
Background removal
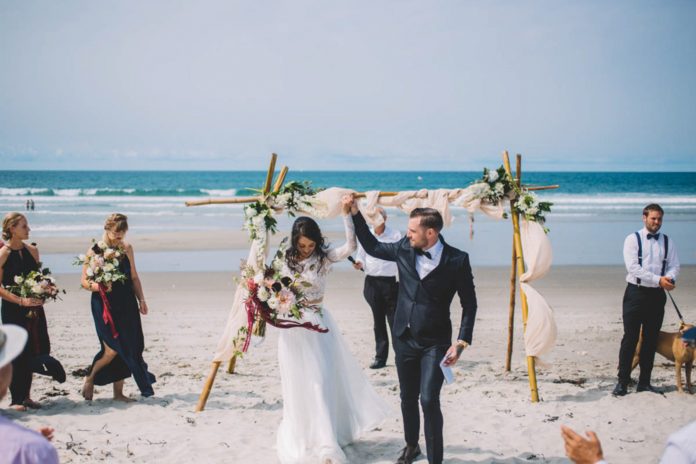
When taking pictures at a wedding, the two most important things are the groom and the bride. Sure, getting a few snaps of the family and friends of the lovers is important, but most of your work will be focused on those two.
However, you are again met with a picture that is cluttered with other background elements such as people, lights, tables, chairs and a bunch of other things that you might find at a wedding. In extreme cases, cropping will not do the job which means you will have to manually edit the items out of the picture. But, even that can be impossible in some cases which means you are left with one choice, remove the background. You will need to carefully select the two main objects of the image and delete everything else in the background.
Doing this can leave a lot of bits and pieces sticking out which can be noticeable when printed for a large scale frame. Fortunately, there are companies that offer professional background remove services that can help you, for a price, of course.
Brightness
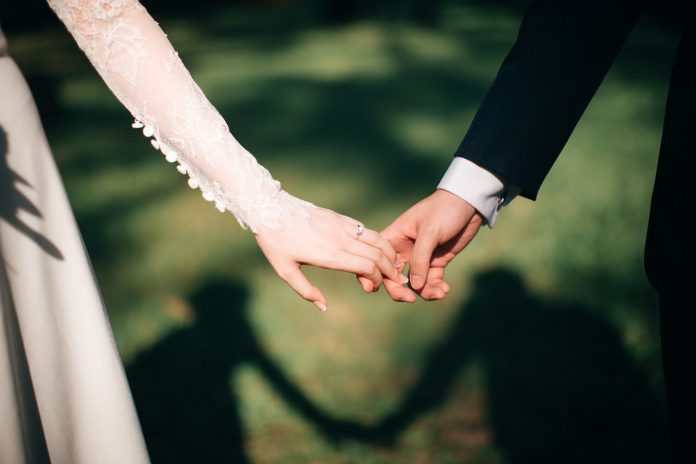
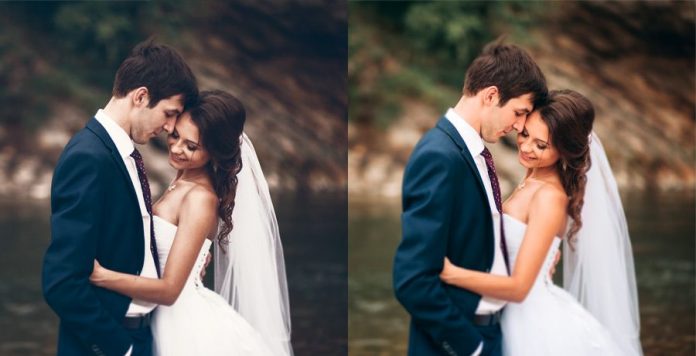
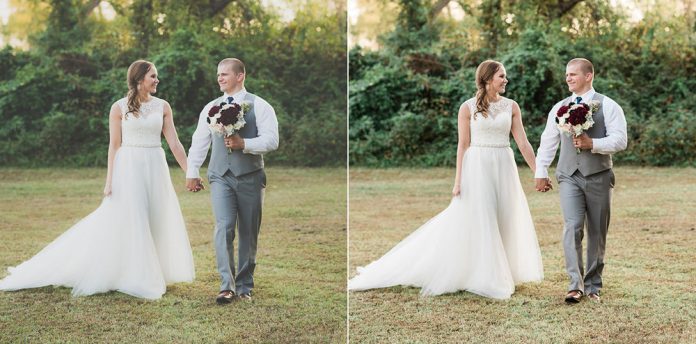
A wedding symbolizes the connection between two people who have fallen in love. The pictures you create will need to symbolize that exact same thing. If you took the pictures at a poorly lit location, they will probably look gloomy and dark which can give off a sad vibe. You want to play around with the brightness to brighten the scene and the people in it. You can either do this by adjusting the gamma and contrast on your editing software or sometimes you might be enough that the brightness option will do the trick.
Color correction
After you have adjusted the brightness or the gamma of the image, most colors will probably look a bit washed out. You will need to bump up the contrast without destroying the shadows in the image. Find the perfect balance between color and shadows to savor the depth of the photo you have captured.
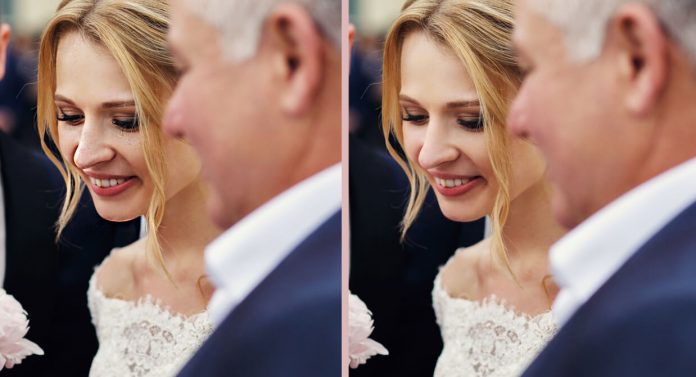
The Clone Tool
This tool is a savior for even the worst images. You pick a certain area of an image with the tool and then apply it to another area while cloning what you previously picked. This is usually done to cover up smudges of the camera lens, to hide wrinkles or blemishes or items in the background that you want to completely remove. It is quite easy to use while it is hard to notice even when looked at by a professional editor.
Filters
If you are almost done, you could consider adding filters to the photo to give them a bit of charm. Adding a vignette or making the image monochrome is usually a favorite to most clients.


