
A neon sign is not just a sign. It’s an inspiration. It’s a part of our society and our culture. It has been for some time now. Just think about them. You know about neon lights, and how much they stretch through various forms of art, including music, painting, photography, and above all else movie industry. Just remember how many songs sing about them, how much art is the consequence of these bright lights, and how many movies start with the sparkling shine of neon lights. Just too many to count, we know.
Another form of art that can take massive advantage of these lights is photography. If you’re into taking photos with your camera or even a smartphone neon lights certainly posed as an inspiration a few times, right? They probably have, we’re not going to assume it, we’re going to claim it as a massive truth. If you’re just getting into taking photos of these lights, you’ll be glad to hear that we have a way to help you get better at it. In this article, we’re going to share with you the five tips and tricks, or even strategies for taking photos of neon signs.
While you might think there’s not too much philosophy to it, let us tell you how wrong you are. There are just so many little tricks and various perks that you can use and pull out of taking photos of a neon sign. By the time you finish reading this article, you’ll see what we’re talking about. In fact, you’ll probably be eager to get a neon sign of your own from echoneon.co.uk to help you practice these tricks and tips we’re about to share with you. So, arm yourself with a little bit of patience, and continue reading.
Day And Night
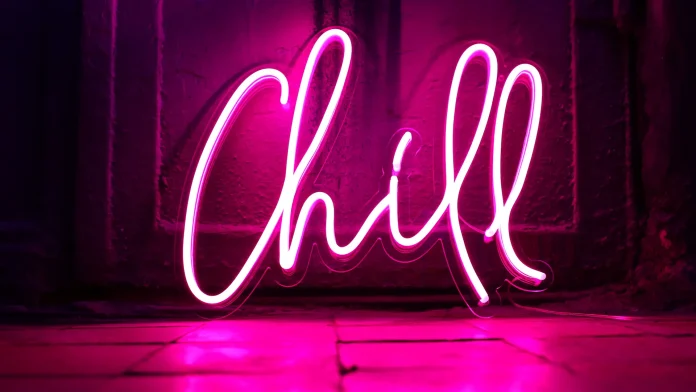
Photos can be good and they can be bad. There’s average too. They could be day and they could be night. Something in between? Maybe. They’re what you create. The first step to capturing the magic of these signs needs to be the selection of the time when you’re going to take the shoot. If you aim to keep your focus tied just to the sign, take the picture whenever you want. But, if you want to catch the ambient, you need to be careful with your selection. To have the ideal situation you need to approach this work a few dozen minutes before dawn, or sometimes after sunset. Not too long when we’re at that. In both cases pick something between fifteen minutes to half an hour. The reason why this needs to be done as we told you is due to the so-called blue hour which will allow you to single out the neon sign and lights but also to cover the wanted surroundings.
Use Models
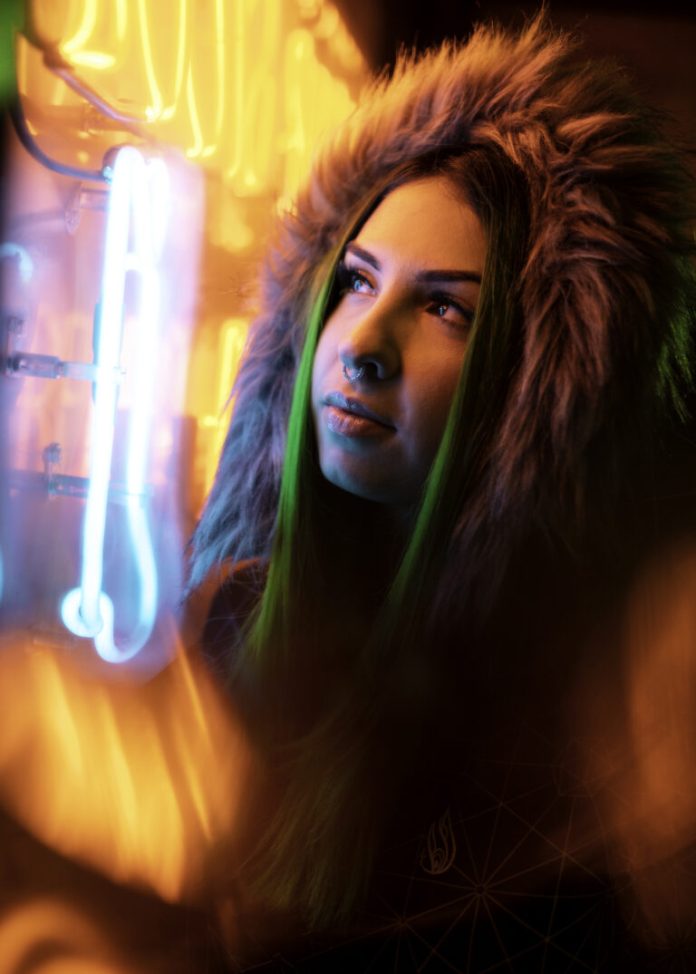
Have you heard about the portraits under the neon lights? They’re a thing. If you’re into photography you have probably heard about them. Everyone who wants to have a collection of portraits usually include one made under a neon sign. If this is your forte you already know that this work is done with a limited number of colors and a bit of light. This requires a lot of creativity, but the end products are always amazing. Working with less light will sharpen your other senses and allow you to express yourself in this domain. Of course, working with models, even amateur ones has its advantages and can help you catch not only the spirit of neon lights but their too. Every minute of work you invest into making portraits under neon lights and signs will help you become a better photographer especially when it comes to a night photo shooting.
Use RAW Shooting
Shooting neon signs is not an easy task. Don’t be fooled. If it was you wouldn’t be seeking our help. But, as we suggested in the title we have the much-needed tips and tricks. One of the includes giving up all attempts of shooting in-camera. Instead, you should switch to RAW shooting. We already told you when to take the best pieces. Considering that we were talking about nighttime, it means you’ll be working under very little light or no light at all. So, you have night, and you have bright lights. The solution is simple- balance. The balance we’re talking about comes from the fact that RAW shooting saves a lot of the original data from the picture. Thanks to this it’s much easier to manipulate this data, and photos when you start the editing process. When you get a grasp on how to do this, it will be much easier to call yourself a professional in this domain.
Stabilize The Camera
This is quite an important part of taking this type of photo. If you use your hand for the photo you’ll probably encounter a lot of blurs. It will be hard to avoid it or edit it out. Instead, you need to stabilize your camera. To do this you should use a tripod or gimbals. While this approach should do the trick, you can enhance your chances of getting a perfect shot by using a remote shutter release. These two things combined will ensure that there’s no blurring present unless you want it.
Avoid Crowded Areas
The best way to learn how to take a perfect neon sign photo is by practicing a lot. This is best done without distractions. So, if you want to hone your skill you’re better off avoiding crowded places. Experiments are best done on your own, or eventually with a model. Crowded places will take a chance from you to experiment and advance in this domain. The downside is that this is hard to achieve. Neon lights are used to attract people. They’re at the forefront of many businesses especially those that are open at night, and are busy. So, while we recommend this as a way t hone your skill, don’t get frustrated if your attempts often fail. The best way to go around this is to never give up, as it’s with many things in life.


