
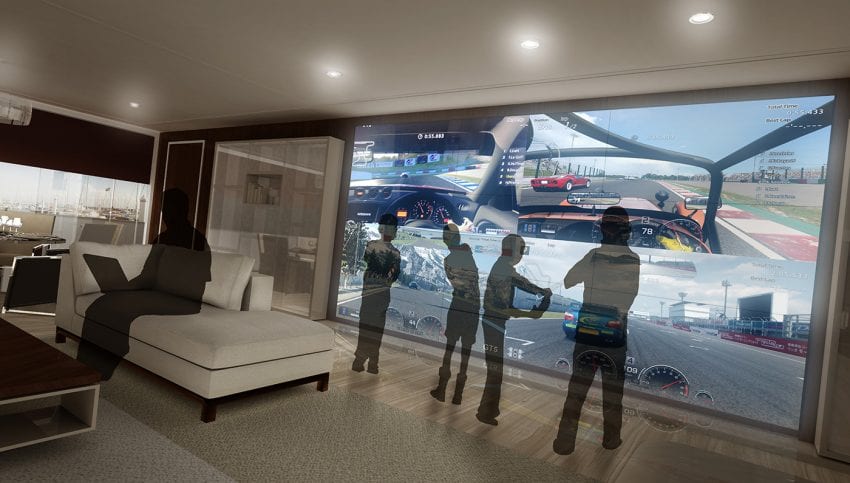
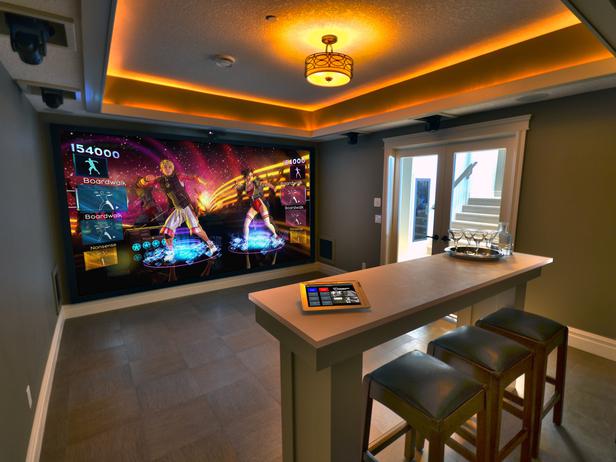
When it comes to the gaming industry, the use of the video walls is without any doubt one of the most exciting experiences in the last couple of years. The reason for that is the fact that video walls offer us an immersive gaming experience just by enabling us to make one big screen using a “bunch” of smaller ones.
Even though this introduction doesn’t sound really that impressive, especially compared to VR, but trust us when we say that this video wall “hype” isn’t just another trendy thing in tech that will be forgotten in just a couple of months.
Hiring a professional to do all the “dirty work” is something you probably should do, but since you’re reading this article, saying that you can do it yourself is kind of redundant. However, before you get all excited and start experimenting with your expensive gear, stick with us ’till the end of this article to get an answer to your question “how to build a video wall for gaming” and to get a better understanding of exactly what you need to do in order to set everything up perfectly.

- Planning
Just like with any other job or a project, planning is extremely important. So if you want this to be just like you imagined it, follow every step carefully in order to get a video wall that you’ve always wanted. The team at Userful are pros when it comes to everything video wall related, so be sure to check them out.
Keep in mind that your plan can’t simply be a collection of two or three basic things that won’t be helpful in any way. First things first, start with a budget. How much cash do you currently have? How much of it are you willing to spend on all the equipment, etc.? These two questions are simply an example of what you need to think through before you start thinking about before you go on your shopping spree.
Next important thing we need to discuss is a location. For an optimum experience, you need to make sure that you have the best lighting possible. Now, don’t get us wrong, when we say “best”, we mean that you need to find a location that somehow limits the amount of light that could be interfering with your gaming experience.
The last thing you need to decide is the amount of space you can afford “losing”. When it comes to video walls, if you’re using high-quality equipment, bigger is better, but if you don’t have enough space, merging smaller size screens will suffice.
- Buying the Equipment
The most important thing that you need to consider whilst buying all the necessary gear for your video wall is, well, resolution. However, another crucial factor that you simply can’t ignore is viewing distance. Even though this is a no brainer, it won’t hurt us to remind you that viewing distance greatly impacts your overall gaming experience, so make sure that you buy a great monitor with a high resolution if you feel the need to compensate for a “not so great” viewing distance.
Also, don’t forget to take into consideration the refresh rate since it can be a deal-breaker if you’re a hardcore fps fan. Video games are extremely sensitive when it comes to latency, so don’t even think about getting monitors that have less than 120Hz refresh rate.
- Setting Up the Wall
Video walls are comprised of smaller screens, so make sure that everything from calibration to configuration goes extremely smoothly. If you’re not sure of what you’re doing and you mess just one simple thing up, you could cause irreversible damage to your gear. We’re not saying this to scare you, just keep in mind that you need to be extremely precise in order to set everything up perfectly.
Once you mount all of your screens optimally, grab all of your HDMI, VGA, or DVI cables and get to the wiring. Keep in mind that some monitors only work with HDMI cables, while some other support all three of them, so you’ll have to figure out which method works for you on your own.
- Configuring the Software
Finally, once you’ve done all of the previous steps, you can start “playing” around with software. Luckily for you, if you’ve done everything right until now, software configuration will be a piece of cake. All that you have to do is simply go through Windows’ on-sign TV application, and Voila!, you’re video wall is ready to use. Enjoy it!


