
Welding is the process of forming a permanent bond between two pieces of metal. They are heated to their melting point, the stuck together and cooled, in order to create one single object. This type of binding two pieces of metal is stronger than others, like soldering, which can easily be reversed. There are four basic types of welding and they are the TIG, MIG, flux-cored, and stick. The welding-type you choose will depend on you.
Before we start with the tips, here are some things that you should know before you start:
Safety essentials

You should always start with the safety gear. Any welding process will require a lot of cutting and grinding, so you will need safety glasses. If the welding is heavy-duty you will need full face protection. You will also need gloves to protect your arms. For better clarification, more info on welderscave.com.
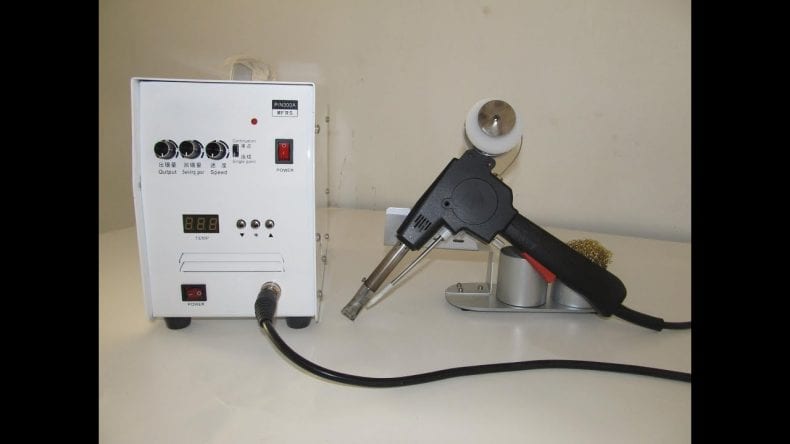
Tools
You will certainly need to mark the metal, so you will need an awl or a carbide scribe. You can improve the marked line by coloring it with a Sharpie pen. You will also need to get an angle grinder to grind, bevel, flatten welds, and you will need a surface that is ready for any project. A welding chipping hammer will most certainly help you with any slag that you need to remove.
Here are 5 tips and tricks for beginners who are willing to learn more about the welding process:
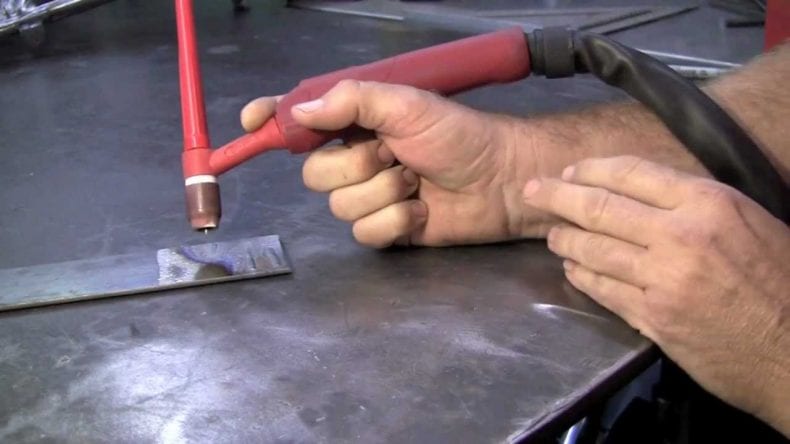
1. Before you start
The first thing you should do is to practice handling the gun without turning it on. Rest the welding gun in your and support that hand on the table. The other hand should operate the trigger. Try to stand in a comfortable position and move the gun steadily and easily over the work station. In order for the posture and gun movement to feel natural, you should adjust them.
2. Prepare the metal

According to the people behind welding.com.au, you should mark a line with carbide scribe or an awl and cut the metal with a saw that is made for cutting metal. You could also try using a hacksaw. If you want a stronger weld, you can clean the metal with a degreaser. Next, you will have to grind or file a slight bevel along the edges that you are planning on welding together. This will make sure that the weld is deep enough as well that it countersinks. Do not overdo it, since you will burn through the metal when you weld.
3. Position the pieces
When working on a project, you will need to form an exact 90-degree angle. Clamp the joined objects together, and make sure that you leave enough room for tack welding. The objects should be flat on the surface and it should fit neatly without metal burr interfering with anything. You should also remember to check the assembly’s position with a square. You should use a carpenter’s metal triangle square on the inside of the object or a steel one on the outside.
4. Tack Weld
Tack the pieces of metal together at a couple of places along each joint. Then, check the corners and if anything is out of place, grind away the tack weld, reposition the parts, and try again until everything is in place.
To successfully join the pieces, first, utilize different types of welding techniques depending on the material and desired strength. This initial step is crucial for maintaining alignment before the final weld. Next, inspect the corners meticulously for any misalignment or gaps. If you discover any discrepancies, or do not hesitate to take corrective action. Use a grinder to carefully remove the tack weld, ensuring not to damage the base metal. After removal, reposition the parts with precision, aiming for the perfect alignment. Attempt the process again, applying tacks at strategic points. Continue this cycle of checking, grinding, and re-tacking as necessary until everything aligns perfectly. This iterative approach ensures a strong, accurate, and visually appealing final weld, embodying the essence of craftsmanship in metalwork.
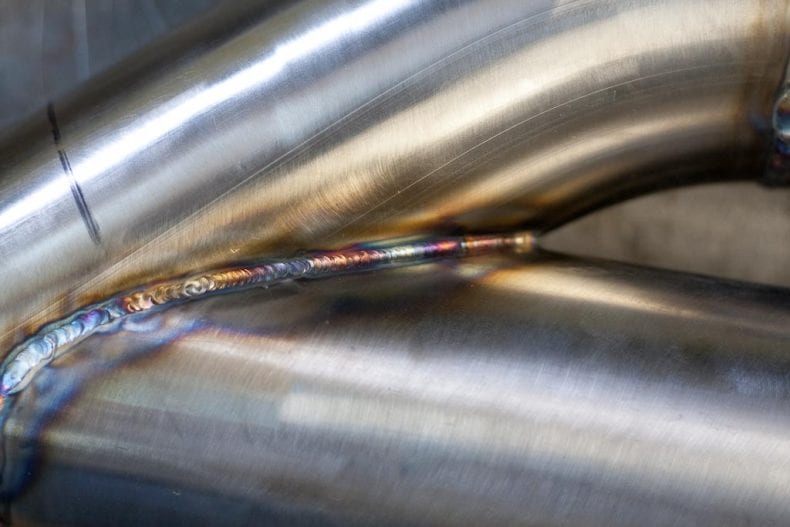
5. Finish weld
After you have tack weld everything, put down the final weld beads. As much a smooth weld is enjoyable, try not to overdo it. The more metal you deposit, the more you will need to grind off once you have finished.
Conclusion
Do not forget that everything needs practice in order for it to be good, so do not worry if you make mistakes along the way.


