
The interesting thing about home brewing is that in many aspects, there is no single right way to prepare, but there are some ways that are simpler than others. And many tips and tricks will make the brewing process easier, faster, and more enjoyable.
1. How to determine the density of beer
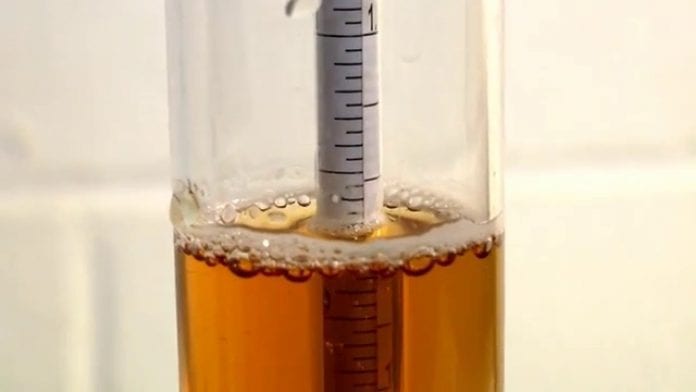
Those brewers who do not have large volume dictionaries receive incorrect data on the initial density of the wort. Cooking the wort in a small dairy, and then diluting it to the desired volume in the fermenter will lead to undesirable consequences. In this case, it is difficult to determine the density of the initial wort. According to albryg.dk the reason for this is that the difference in the temperature of the wort and the water makes the process of obtaining a homogeneous mixture difficult, even if the mixture in the fermenter is vigorously mixed.
Stronger means longer
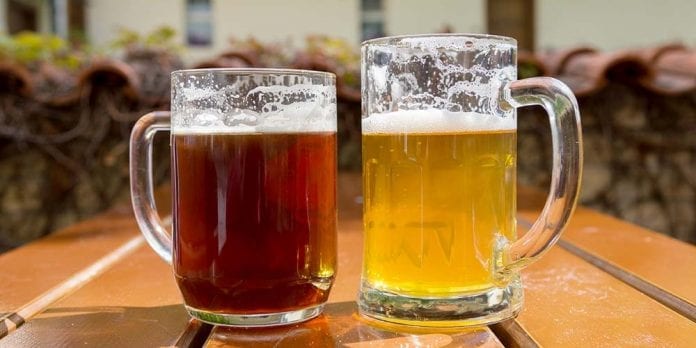
Remember that the higher the initial density of the wort, the longer the fermentation and aging time. Very high-density beers, such as barley wine or doppelbock, may require months of aging to reach their taste peak.
Three-day test
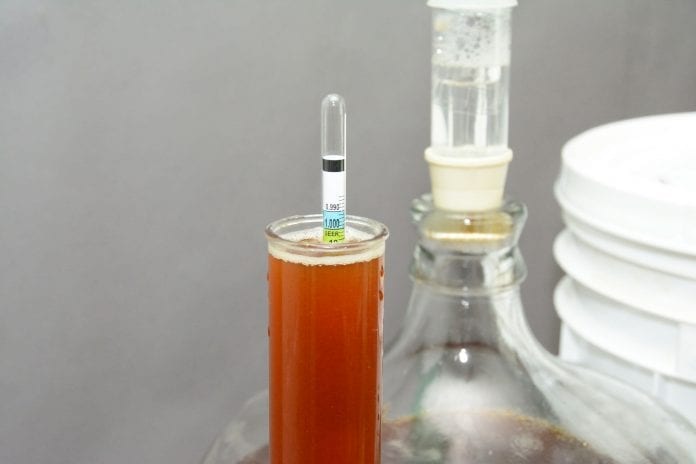
If the hydrometer for three days does not show a decrease in the density of the wort, then the fermentation process is over.
If in doubt, wait. If you have doubts that the beer has not yet finished fermentation, wait. It doesn’t harm your beer in any way if it stays a couple more days on fermentation before bottling.
When you are trying to determine if the beer has finished fermentation or not, you need to remember the relationship between the initial density of the wort and the final density. In this ratio, you need to remove one before the point.
2. Specific Density and Plateau Density
When making a transfer from one density measurement system to another, it should be borne in mind that the Plateau unit is four times less than the specific density. A recipe in which the initial density of the wort is 12 Plateaus, will mean 4×12 = 48 or 1.048 specific density.
Test tea with ice

When two-level fermentation with a primary and secondary fermenter is used, try the following recommendations to determine the time of overflow for secondary fermentation and when you need to bottle beer. During primary fermentation, a large foam is formed, called Kreuzen, on the surface of the beer. When the primary fermentation begins to complete, the foam begins to subside, and the surface of the wort begins to be visible. And after this moment, the wort can be transferred to secondary fermentation. After the beer has been transferred to secondary fermentation, it looks cloudy. Over several days to a couple of weeks, the dregs begin to sink to the bottom, acquiring the color of iced tea. When the wort has settled, it’s time to measure the density and bottle it.
3. Yeast Tips
In case of emergency
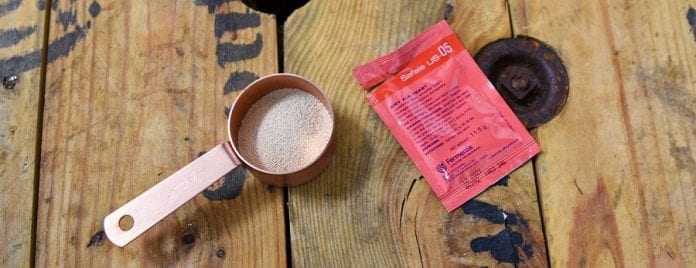
Brewers who are used to using liquid yeast cultures always keep a couple of packs of dry yeast in the refrigerator. They remain effective for a long time, and in the case when it was not possible to use liquid yeast, dry yeast will come to the rescue.
Heat the lager

When preparing lager and using liquid yeast cultures, fermentation must start at room temperature. Only when the wort has shown that the fermentation process has begun, begin to cool the wort to the desired temperature. This will give confidence that a healthy and thorough fermentation has begun, which will continue at a lower temperature.
It is also important to let the beer stand at room temperature for a couple of days before bottling. This will not only let you know that the fermentation is complete but also carbonize beer much faster.
If little is good, more is better
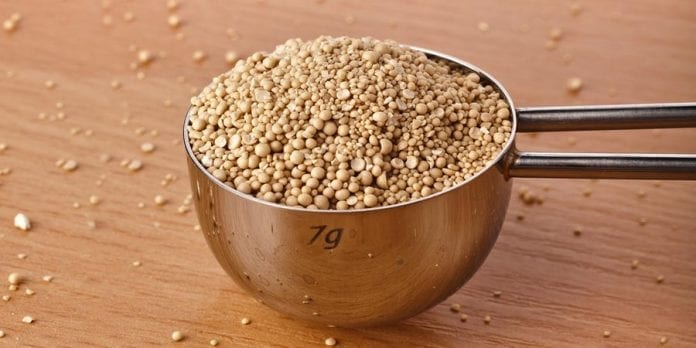
When using dry yeast, use two standard bags of 19-20 liters of beer. Using one sachet is fine, but adding one more sachet. Firstly, it will reduce the time until the moment when the yeast begins to work, and secondly, it will reduce the risk of infection of the wort.
Throw yeast into the dummy! Many times, imported jars of extracts have under their lids sachets with yeast, which very possibly were stored at room temperature. For every 20 liters of wort, it is advisable to use two standard bags of high-quality brewer’s yeast, which were stored in the refrigerator. Throw one bag into the must, 10 minutes before the end of cooking. One type of nutrition of yeast is dead yeast cells. When adding yeast to boiling wort, you kill them and provide the necessary food for the yeast, which will be added to the wort in due time.
4. Recipe and Equipment Tips
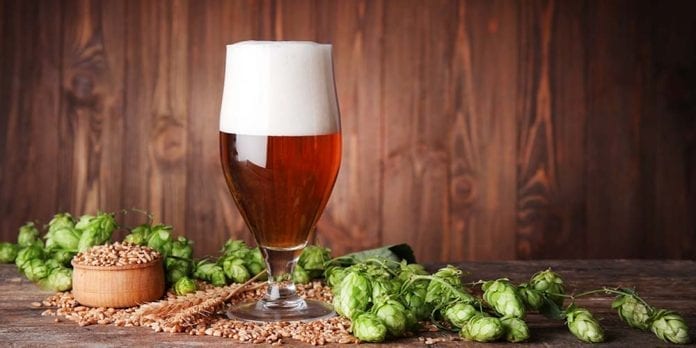
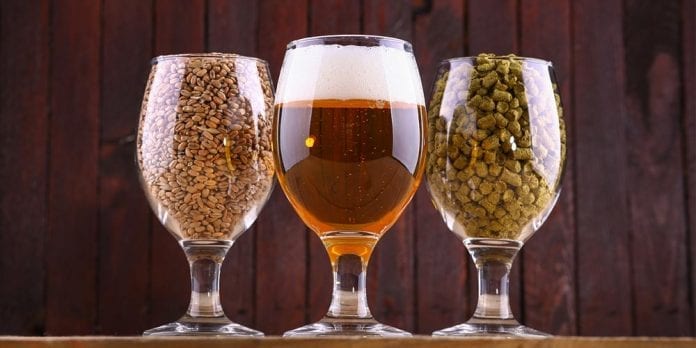
Adding wheat malt to the recipe will improve the froth. To improve the foamy head of your beer, add 3-5% of wheat malt (grain or extract). This will help without affecting the taste and color of your beer.
Adding oak wood
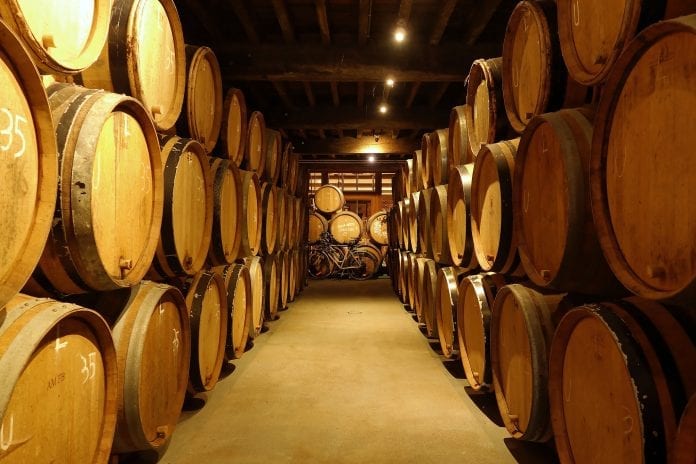
Adding oak wood to beer is not a complicated process, which will give an authentic taste of beer from an oak barrel, in which beer is matured. You can take oak shavings and brew boiling water. The resulting “tea” from oak will give the necessary aroma to beer.
5. Remediation in the dishwasher
The frying dishwasher cycle can be used to process bottles. But keep in mind that it is still necessary to rinse the bottles beforehand, as dense deposits in the bottle may not be washed with a stream of water. It also includes only hot water treatment without the use of detergent. Standard dishwasher detergents contain surfactants that destroy the surface tension of water, which “breaks” the water and prevents it from accumulating. These substances are very persistent and poorly washed off. Some of these substances will get into your beer, which will lead to the loss of foam.


